So i posted up a few pictures on Missing-lynx's tips and tricks forum to get opinions on how my painting is doing.... but i got a reply that rather stated my setting is totally wrong. Stalingrad didnt have brick walls or brickroads!!! He said it was too expensive for the country to import stone from the Urals or the Steppes but then.... he said a more likely place for my dio is LENINGRAD (now St. Petersburg.)
He's right! the city of that guy with a devil's beard (Lenin) had LOTS of brick roads and cobblestones. I did a bit of research on the net. and i was lucky to stumble upon a picture of a bombed out building... which had its layout alomost EXACTLY like my wall! I always thought 5mm for a scale wall was too thin but after lookin at this authentic photo.. wow...
Anyways i did a big leap forward for the dio (i woke up at 2... now it's 6...). Look at the pictures. Somehow i think my initial paintings were all unneccassary. oh well.. its the thought that counts.
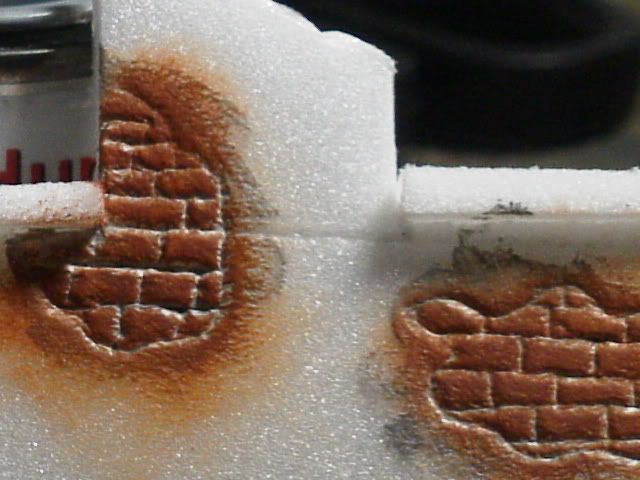
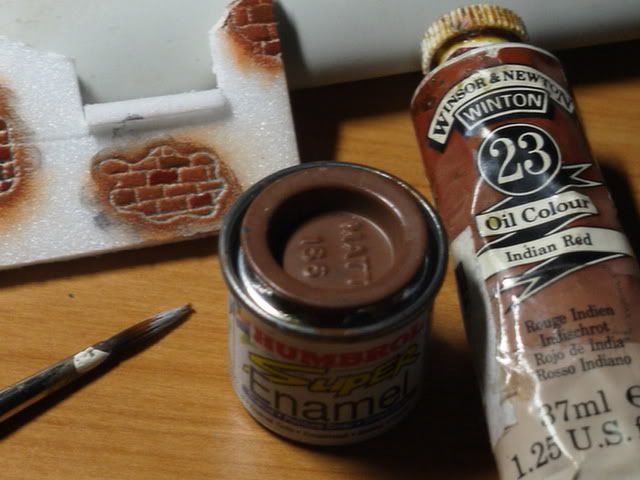
These are the walls after the SECOND drybrushing. I used W&N's Indian Red oil paint to paint individual bricks and also another brown enamel colour.
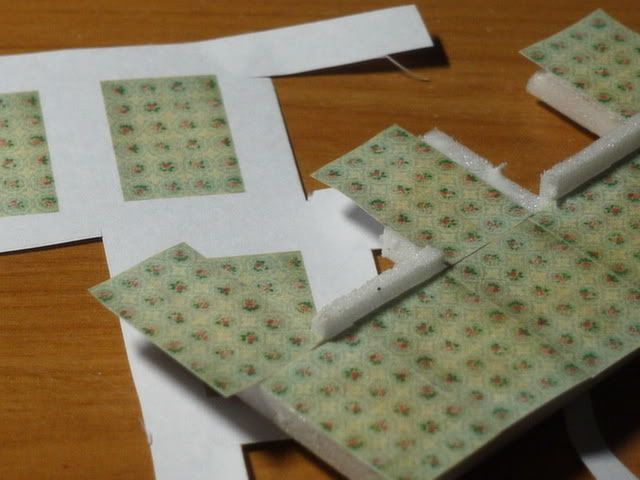
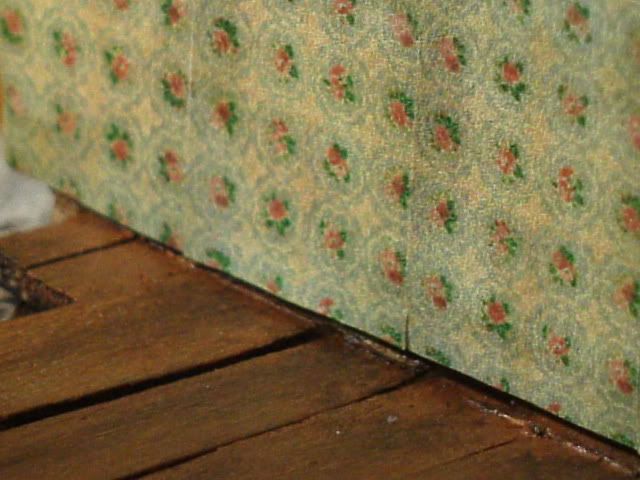
My brainchild... printing out wallpapers and sticking them onto walls like it was the real thing!
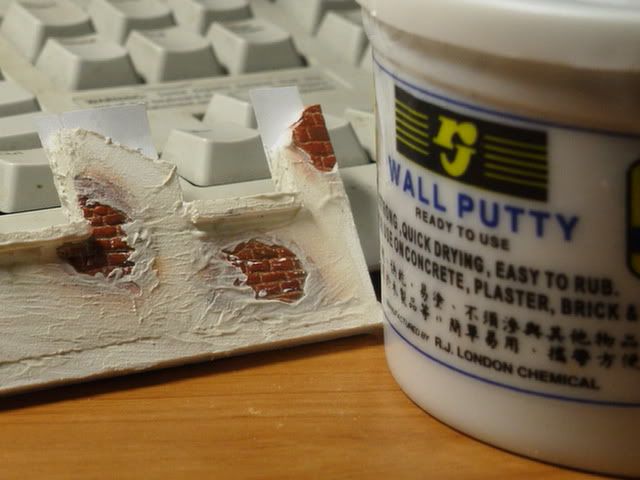
I used wall putty to represent plaster of the wall... avoiding the bricks (well.. trying to..). Its good if u can get some applicator of some sort cos hell... ice cream sticks dont make good applicators! oh yeah... add a bit of water too... so that u can make smoooooth walls. Mine was a bit dry.
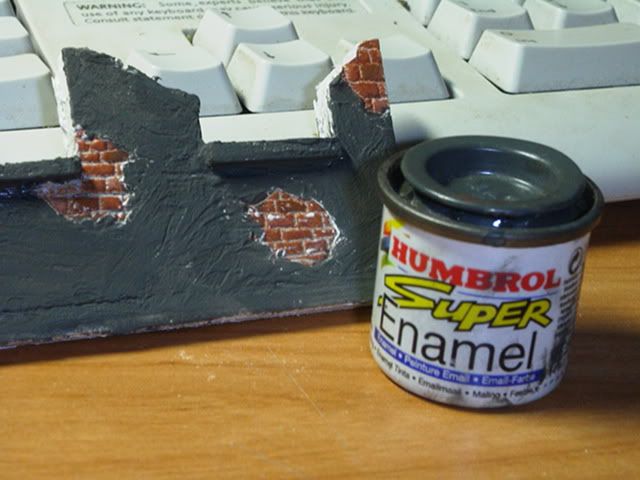
First drybrush with grey enamels. Too little.
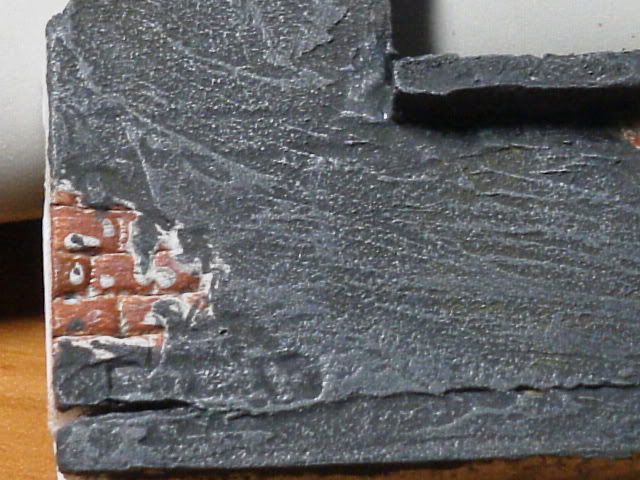
Another drybrush with a lighter grey... Still too little drybrushing.
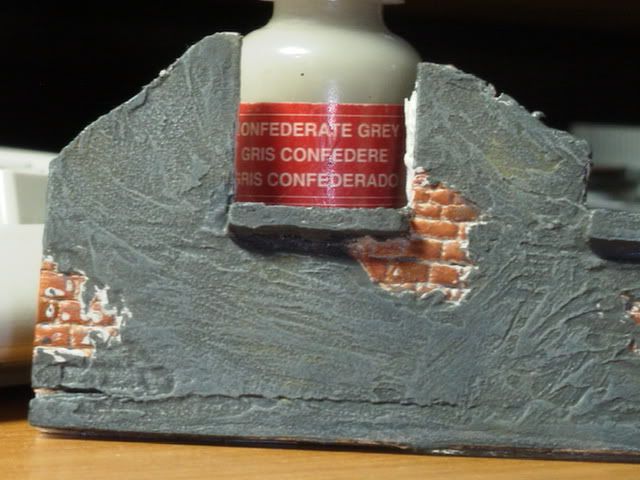
Final drybrushing (for now..) of Andrea acrylic paint, Confederate Grey. Blargh i cant make walls look like stone!!

Oh yeah... i ran Raw Umber oil paint on the floor boards.. turned out okay~~~.... and i hated the pavement colours a lot so i drybrushed (again) with a lighter grey.... and took out the lightest gray i could find and painted individual bricks that colour. then i mixed that grey with indian red and that's how i got the pinky colour.
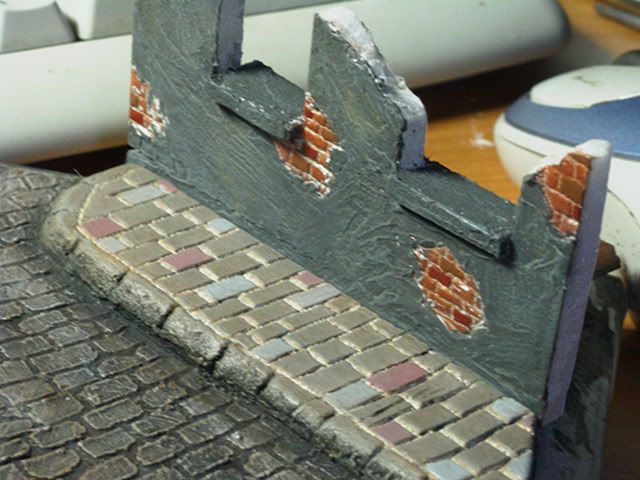
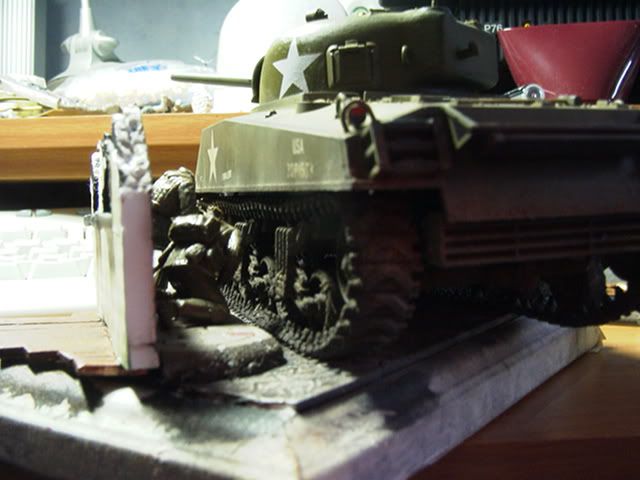
Just to let you guys see the scale. The road fit a Sherman perfectly (although it was normally able to fit a sherman and a jeep on it). Scale proportions.. ZERO marks... boo~~~
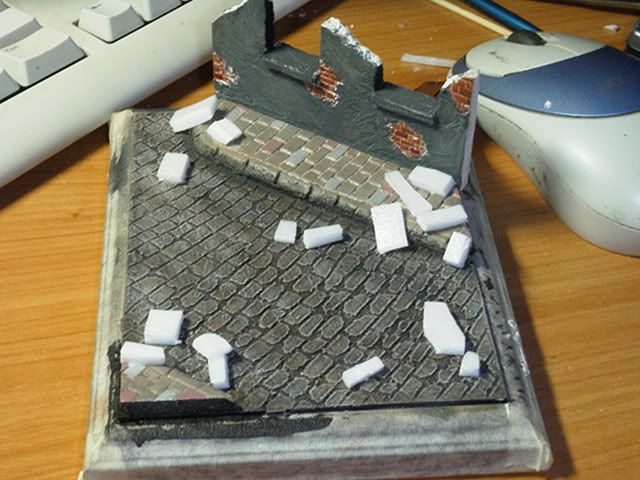
Now to create destruction!!! Amateurs would just take a hammer and smash everything to bits but nooo~~~~ we experienced modelers would actually BUILD RUBBLE ON PURPOSE! But i aint experienced so i followed steps i found on the webbie. First step was to add foam strips. Well i have plenty of foam around here eh... Big strips are okay... as they said... and put more near the building. (DOH)
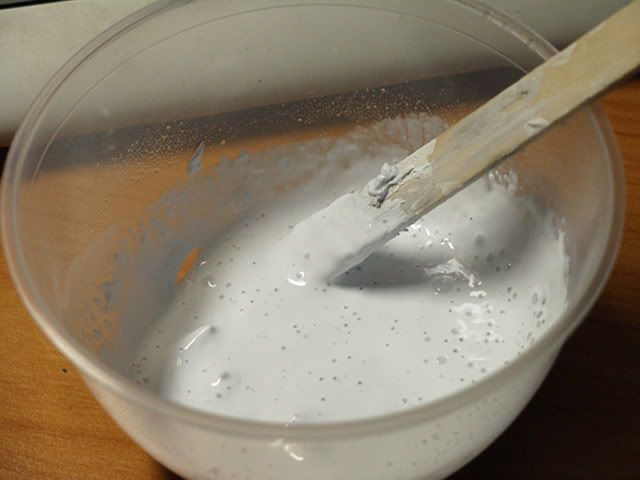
Then i mixed up a porridge-consistency of wall plaster and water. This is to give our rubble some basic shape to it. otherwise you would have to pile up LOTS of sand and rocks and that is also no guarantee it'll stay there forever.
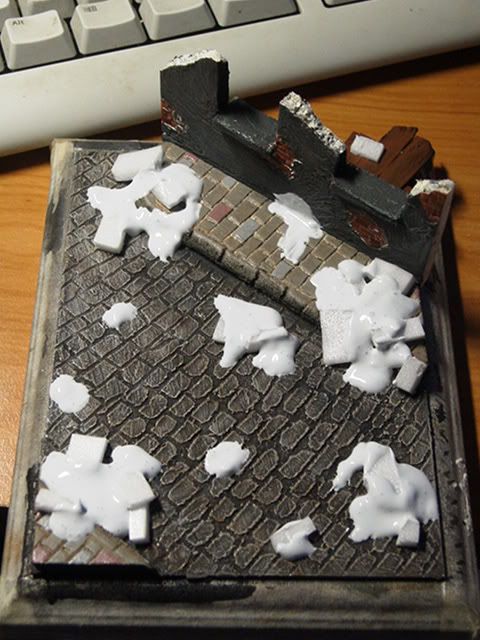
I spread-ed the plaster around the foam strips and put some drops here and there... Shouldve spread it out even more...
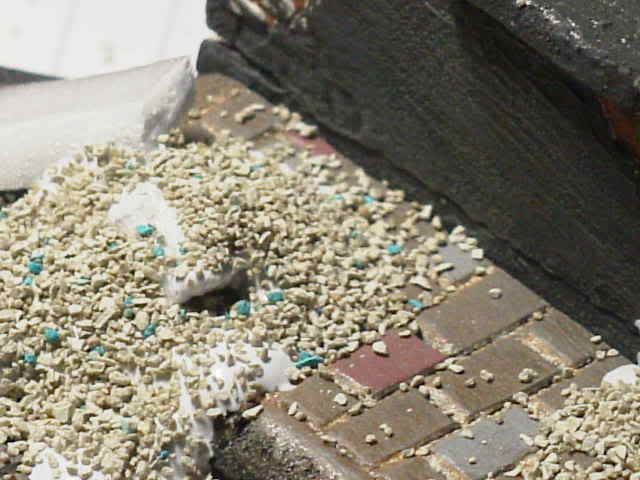
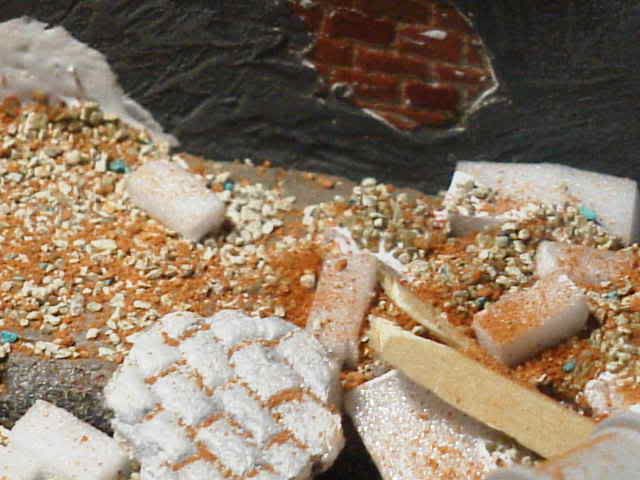
Finally i get to use an ingredient ive always had my eye on.... HAMSTER'S BATHING SAND!!! Under the cover of my blanket.. i stalked to the danger zone; the kitchen. Helped myself to a HUGE helping of hamster sand.... and distributed it to the poor. and they ate it! oh my god!
Yeah and make sure the sand spreads out beyond the plaster...
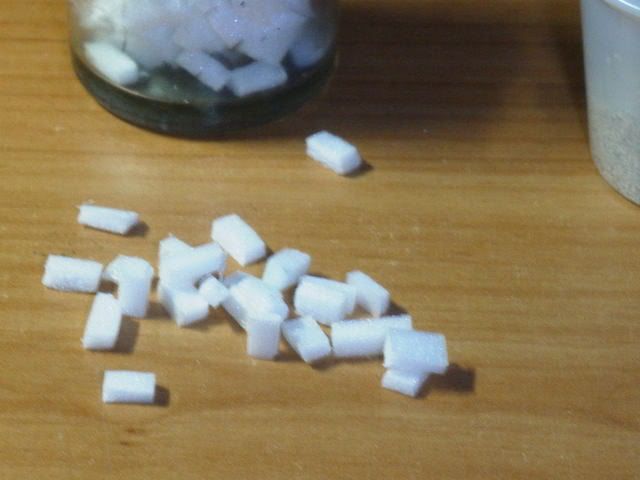
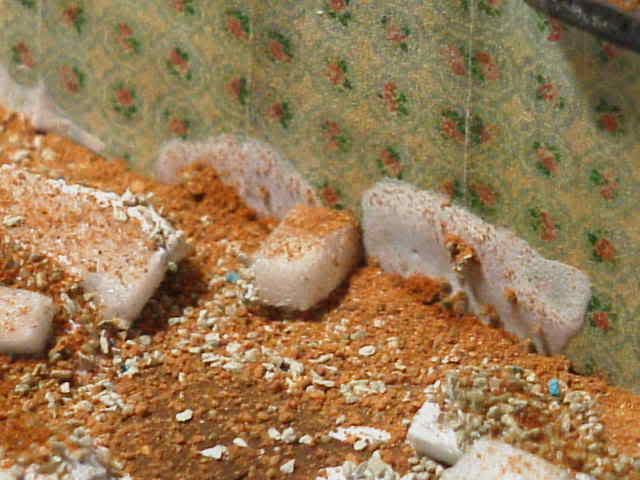
While watching home-made videos... yeah i watch my own videos.... i cut out little bricks out of foam strips. now i have plenty after just a couple of minutes of watching videos.
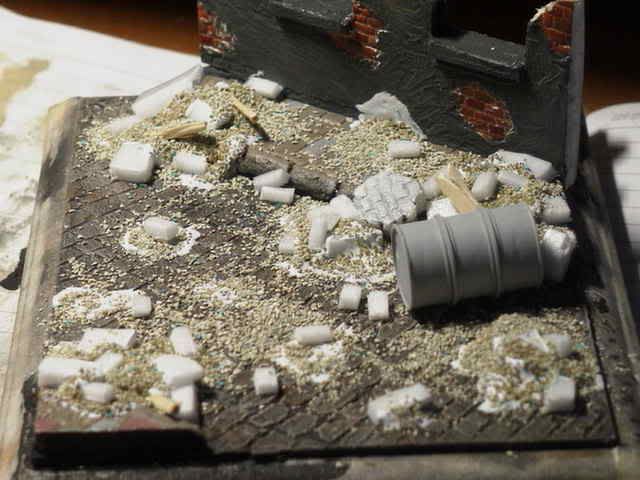
Now to make rubble look like rubble. its obvious.... throw bricks around.. glue some down when needed (i did!! i did!!) push some into the plaster... add a few details... cut up ice cream sticks... and there u have it... basic shape of ur rubble.
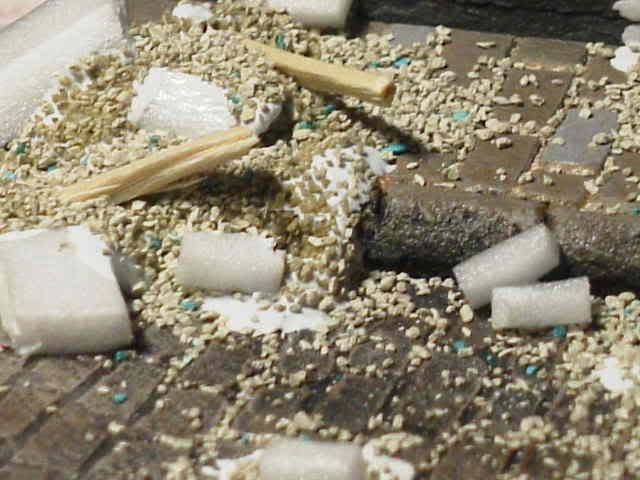
Now... to put a touch of M Workshop into this piece of work.... i used sand... (bought for "Tu Dorrar"...) and sprinkled it all over the dio like a fairy throwing its dust around and causing pollution. This is why... fairies dont exist anymore. They died from their own EEVVVIIILLLL deeds. Spread the sand all over the base.. blow it a little... put more on the rubble mounds.... yeah... Its fun being a fairy.
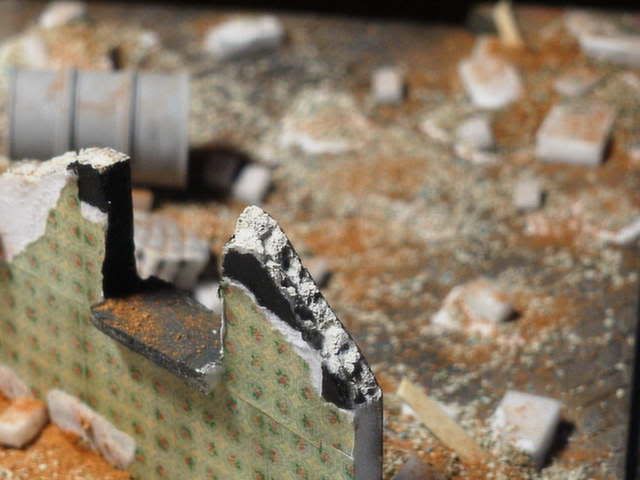
I added a bit more detail to the walls. I drew (yeah.. drew... Drew Carey!!) in bricks into the wall halves thingy ding dong. Now we know this wall is not made with just ONE layer of bricks.
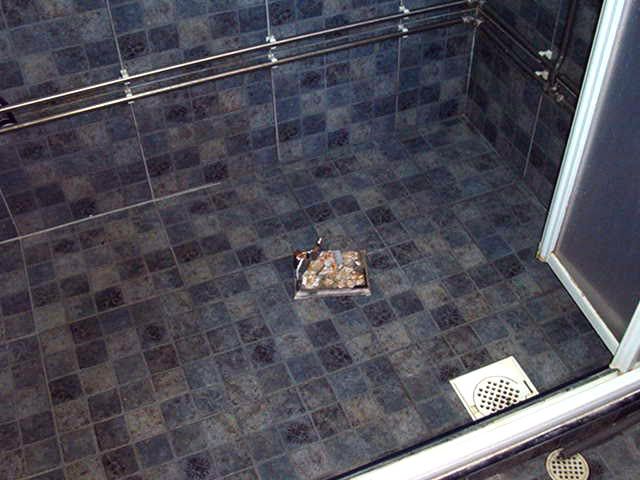
Now to seal everything together. All we need is an equal mix of water and white glue (more water is better though), a spray applicator and a place to spray this sticky/slimy substance. I used the obvious place.
Learn form my mistakes~~~ DONT SPRAY TOO MUCH!!! DONT SPRAY TOO CLOSE!!! SPRAY THE MIX IN A CLOUDY MIST!!! DONT BUY SPRAY FROM VALUE!!! arrgghhh this 60 cents spray im using is killing me and my work!! somehow it could only spray in streams of jets upclose and u must really use force to make it spray in mists. and still.. there is a thin jet stream coming out in the middle of the mist. ARGGH cheapskates...
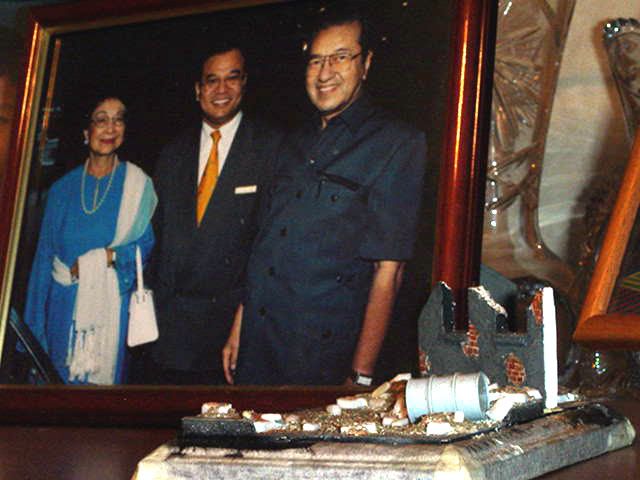
Now the dio is left to dry completely beside the picture of my father (seperating Mahathir from his wife. :p )
Okay... as we wait.. let me show you something i did out of wire this morning (4 am...)
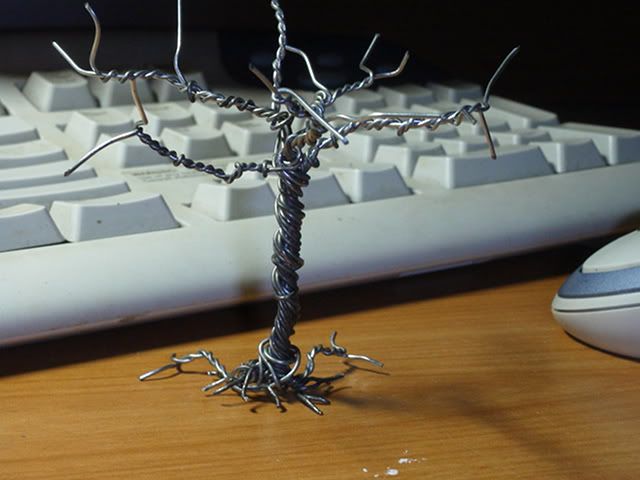
It's my self protrait!
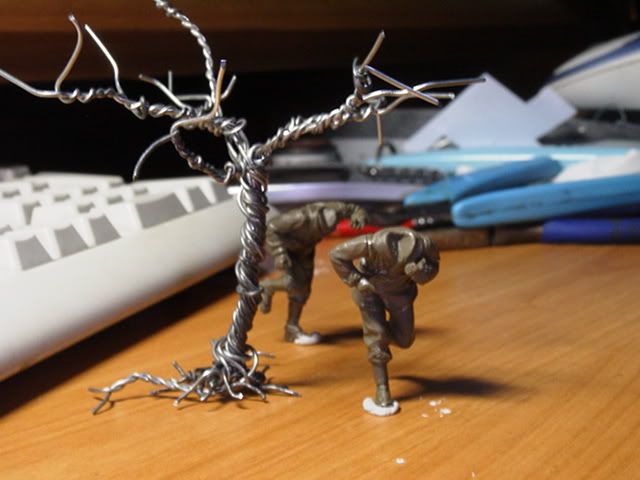
Yeah and u know where this leads to.... my next dio~~~....
He's right! the city of that guy with a devil's beard (Lenin) had LOTS of brick roads and cobblestones. I did a bit of research on the net. and i was lucky to stumble upon a picture of a bombed out building... which had its layout alomost EXACTLY like my wall! I always thought 5mm for a scale wall was too thin but after lookin at this authentic photo.. wow...
Anyways i did a big leap forward for the dio (i woke up at 2... now it's 6...). Look at the pictures. Somehow i think my initial paintings were all unneccassary. oh well.. its the thought that counts.
These are the walls after the SECOND drybrushing. I used W&N's Indian Red oil paint to paint individual bricks and also another brown enamel colour.
My brainchild... printing out wallpapers and sticking them onto walls like it was the real thing!
I used wall putty to represent plaster of the wall... avoiding the bricks (well.. trying to..). Its good if u can get some applicator of some sort cos hell... ice cream sticks dont make good applicators! oh yeah... add a bit of water too... so that u can make smoooooth walls. Mine was a bit dry.
First drybrush with grey enamels. Too little.
Another drybrush with a lighter grey... Still too little drybrushing.
Final drybrushing (for now..) of Andrea acrylic paint, Confederate Grey. Blargh i cant make walls look like stone!!
Oh yeah... i ran Raw Umber oil paint on the floor boards.. turned out okay~~~.... and i hated the pavement colours a lot so i drybrushed (again) with a lighter grey.... and took out the lightest gray i could find and painted individual bricks that colour. then i mixed that grey with indian red and that's how i got the pinky colour.
Just to let you guys see the scale. The road fit a Sherman perfectly (although it was normally able to fit a sherman and a jeep on it). Scale proportions.. ZERO marks... boo~~~
Now to create destruction!!! Amateurs would just take a hammer and smash everything to bits but nooo~~~~ we experienced modelers would actually BUILD RUBBLE ON PURPOSE! But i aint experienced so i followed steps i found on the webbie. First step was to add foam strips. Well i have plenty of foam around here eh... Big strips are okay... as they said... and put more near the building. (DOH)
Then i mixed up a porridge-consistency of wall plaster and water. This is to give our rubble some basic shape to it. otherwise you would have to pile up LOTS of sand and rocks and that is also no guarantee it'll stay there forever.
I spread-ed the plaster around the foam strips and put some drops here and there... Shouldve spread it out even more...
Finally i get to use an ingredient ive always had my eye on.... HAMSTER'S BATHING SAND!!! Under the cover of my blanket.. i stalked to the danger zone; the kitchen. Helped myself to a HUGE helping of hamster sand.... and distributed it to the poor. and they ate it! oh my god!
Yeah and make sure the sand spreads out beyond the plaster...
While watching home-made videos... yeah i watch my own videos.... i cut out little bricks out of foam strips. now i have plenty after just a couple of minutes of watching videos.
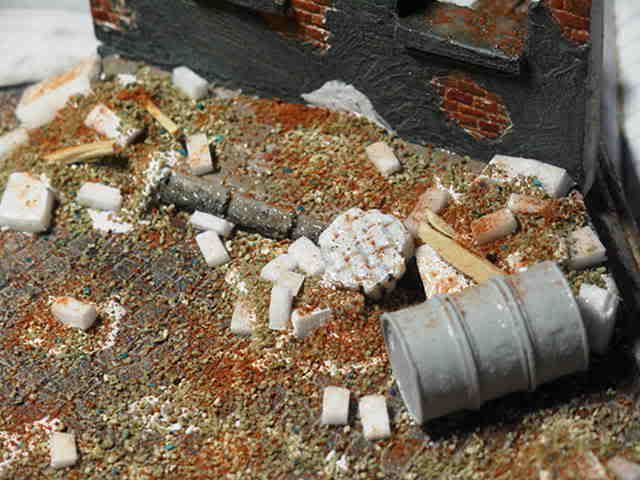
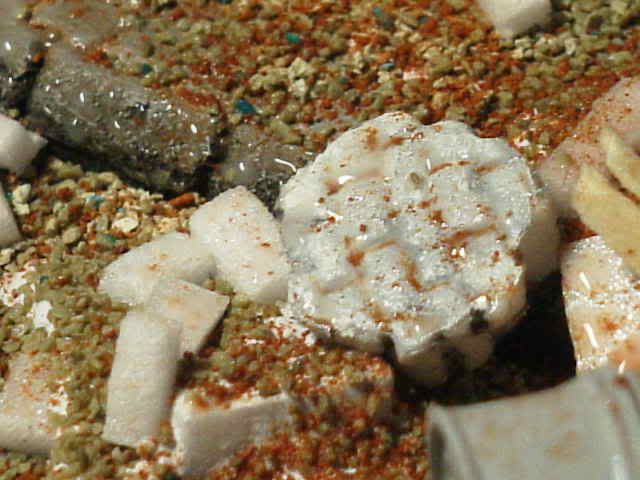
Now to make rubble look like rubble. its obvious.... throw bricks around.. glue some down when needed (i did!! i did!!) push some into the plaster... add a few details... cut up ice cream sticks... and there u have it... basic shape of ur rubble.
Now... to put a touch of M Workshop into this piece of work.... i used sand... (bought for "Tu Dorrar"...) and sprinkled it all over the dio like a fairy throwing its dust around and causing pollution. This is why... fairies dont exist anymore. They died from their own EEVVVIIILLLL deeds. Spread the sand all over the base.. blow it a little... put more on the rubble mounds.... yeah... Its fun being a fairy.
I added a bit more detail to the walls. I drew (yeah.. drew... Drew Carey!!) in bricks into the wall halves thingy ding dong. Now we know this wall is not made with just ONE layer of bricks.
Now to seal everything together. All we need is an equal mix of water and white glue (more water is better though), a spray applicator and a place to spray this sticky/slimy substance. I used the obvious place.
Learn form my mistakes~~~ DONT SPRAY TOO MUCH!!! DONT SPRAY TOO CLOSE!!! SPRAY THE MIX IN A CLOUDY MIST!!! DONT BUY SPRAY FROM VALUE!!! arrgghhh this 60 cents spray im using is killing me and my work!! somehow it could only spray in streams of jets upclose and u must really use force to make it spray in mists. and still.. there is a thin jet stream coming out in the middle of the mist. ARGGH cheapskates...
Now the dio is left to dry completely beside the picture of my father (seperating Mahathir from his wife. :p )
Okay... as we wait.. let me show you something i did out of wire this morning (4 am...)
It's my self protrait!
Yeah and u know where this leads to.... my next dio~~~....
Posted by
Audi
Labels:
Scale Modeling
RSS